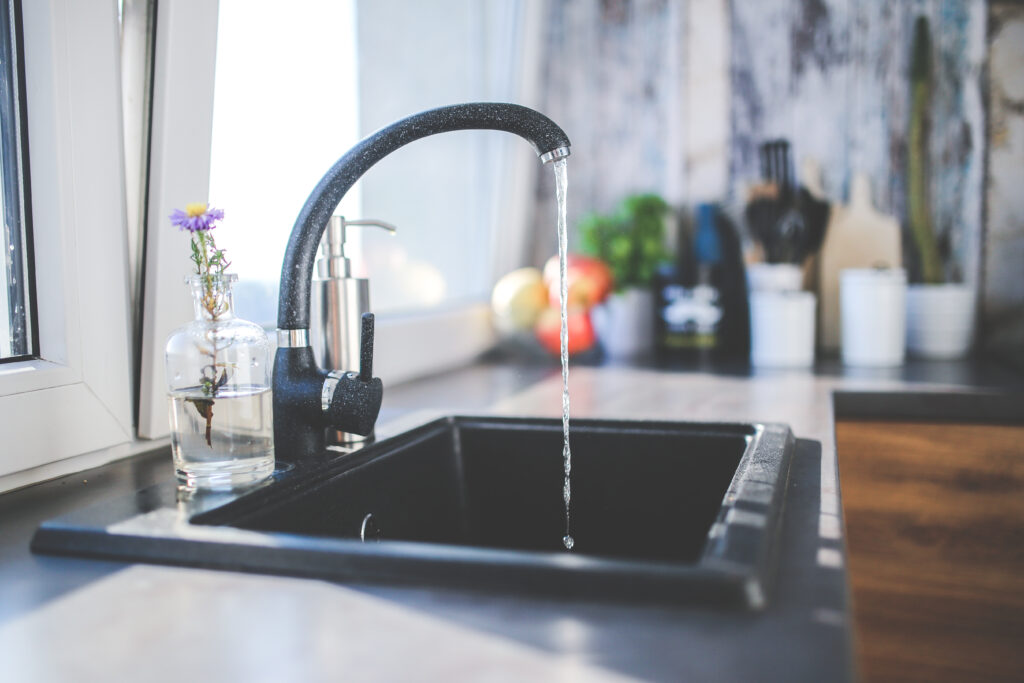
Changing out the faucet on the kitchen sink

- Adjustable Wrench
- Towels
- Flashlight
- New Sink
1. Clean Under the Sink
The first thing you need to do is remove anything from behind the sink.
2. Close Water Valves
Under your sink, you’ll find hot and cold valves. Just turn them clockwise until you can’t turn them any more. Then turn on your faucet and make sure that no water comes out. To relieve pressure, keep the faucet on and open. Now that your water is turned off, you can move on to the next step.
3. Unscrew the supply pipes for both the hot and cold water.
You will need a wrench to loosen the screws before you can take them off by hand. You should keep a few rags or towels nearby in case any of the water you left in the pipes starts to leak out.
4. Remove Old Faucet
The next step is to take out the old faucet by unscrewing it from the bottom of the sink. This was by far the hardest part of the process for me. After you take out the screw that holds the button in place, you can move on.
You’ll remove the old faucet by pulling it up and out of the top of the sink.
5. Clean
The next step is to clean out the hole where the sink drains. You will never be able to get it this clean again after installing the new faucet, so polish it off really nicely and remove any muck that has collected around the hole.
6. Install New Faucet
Follow the instructions in the manual that came with the faucet. Installing a new sink faucet is as simple as threading it through the hole in the sink, tightening it at the bottom, and connecting the supply lines for the hot and cold water.
Turn on the water and make sure the supply connections for hot and cold water are connected. Now would be a good time to check all of your connections to ensure that none of them are letting any water out. Grab your flashlight and go through each one to make sure that your work is complete and error-free.
Once you’ve completed each step, you’ll have your new and improved faucet!

