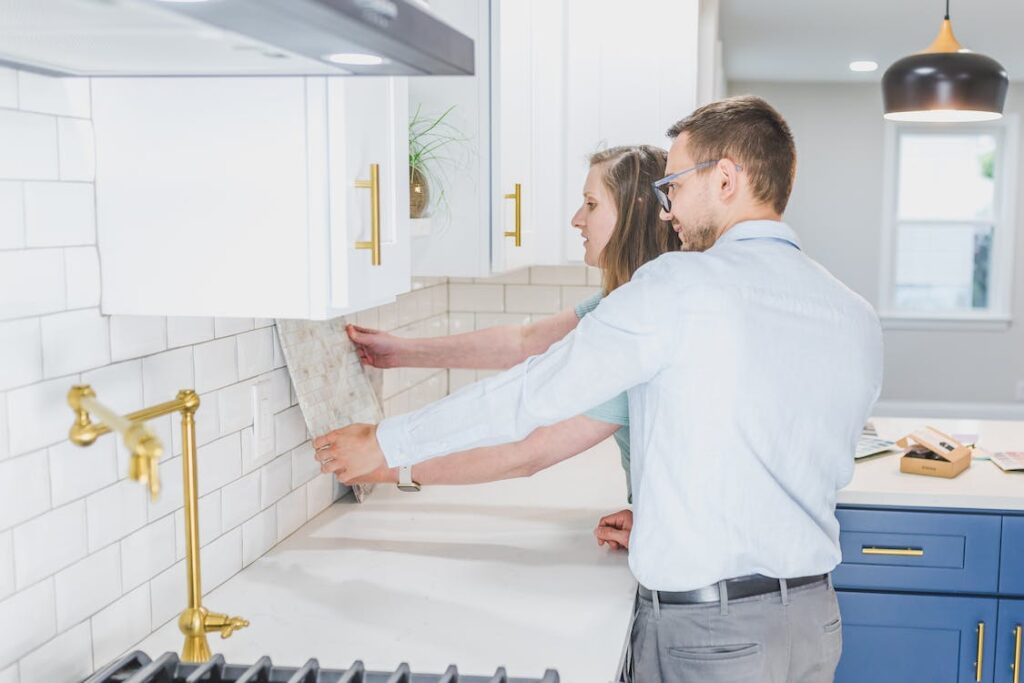
Installing Peel and Stick Backsplash

- Sniping Shears
- Hard ruler or Straight Edge
- Measuring Tape
- Scissors, craft knife, or box cutters
- Pencil
- Dry erase or washable marker
- Latex Caulk
- Screwdriver
Step 1. Prep the Surface
The preparation of the surface is always the most critical step in any do-it-yourself endeavor to ensure your tile looks professional and stays on for the long haul.
Before you start peeling and sticking, turn off the power if you’re working close to electrical outlets, and remove any outlet covers using a screwdriver.
Prep the surface by sanding down any rough areas, protrusions, or old adhesive. Next, wipe down the walls with a wet cloth and dish soap and let the walls dry completely.
Step 2. Ensure Straightness
Before you make your first cut, you need to make sure that your cabinets and countertop are entirely straight in relation to one another. This is the most important aspect you need to make before you start cutting. If you don’t plan ahead, even a slight deviation can be easily observed by others. Check for height disparities by taking measurements at both of the object’s ends as well as its center.
Step 3. Cutting the tile
The type of material the tiles are made of will determine the type of cutting instrument that is necessary to cut them. You could, for instance, cut peel-and-stick tile using a pair of scissors, a box cutter, and a ruler (for a straightedge).
It will be necessary for you to cut tile pieces so that they can fit neatly around any outlets, windows, or cabinets. First, measure the area, and then cut the tile to those measurements. This will make the process much simpler.
Step 4. Applying the Backsplash
First, choose a spot on one side of the backsplash to start. Work from the bottom up and be consistent so that your tiles line up.
Before you start sticking, use a ruler and pencil to mark on the wall where each tile will go. If you want the backsplash to line up with the wall, you may need to cut a straight edge into the tiles on each side.
Once you know where to start, you can start putting tiles down. All you have to do is remove the paper from the back of each tile and put it on the backsplash. Press down hard on the tiles—you can use a credit card to do this and get rid of any air bubbles—and make sure they stick to the wall completely.
Make sure to hold the tile by the edges so that your fingers don’t stick to the back. Keep the sticky side of peel-and-stick tiles away from any surface other than the one you’re putting them on.
Step 5. Caulking the Backsplash
It is strongly advised that you apply a line of caulk around the joint where the backsplash and the countertop meet. This is done to prevent any water or moisture from running up behind the tiles, which could lead to the development of mold or the deterioration of the tiles themselves.

