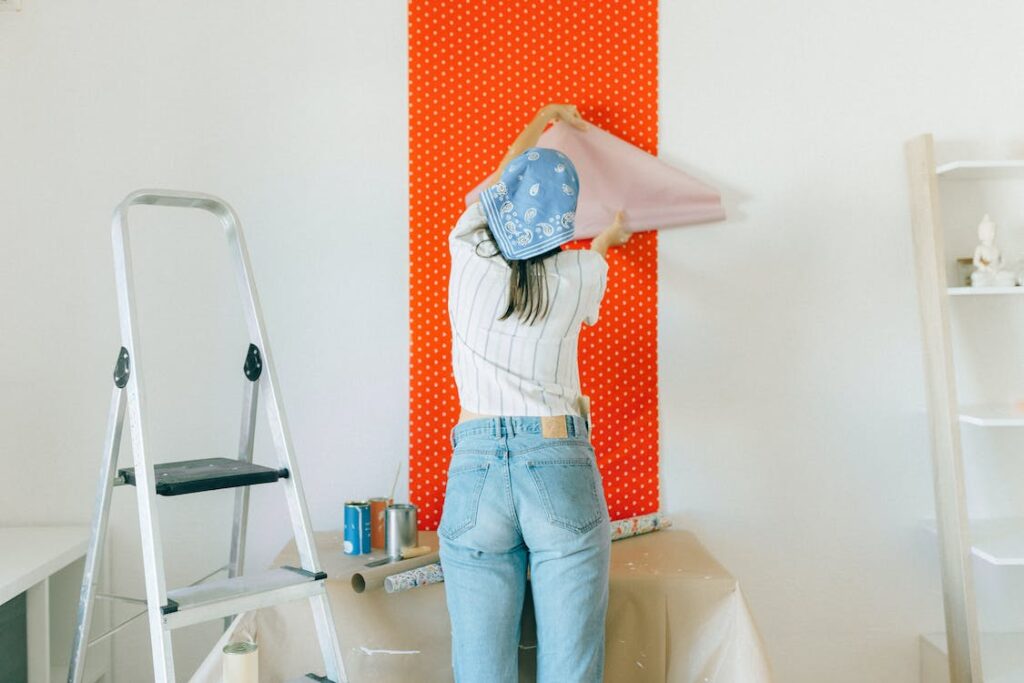
Wallpapering a wall

- Stepladder
- Dust Sheets
- Bucket of water
- Paper-hanging brush
- Tape measure
- Pencil and Scissors
- Sponge
- Sugar soap
- Wallpaper
- Wallpaper paste
- Seam roller
Step 1. Prep the area
Wallpapering can be messy, so move furniture and soft items out of the room and use dust sheets to cover the floor and anything else that can’t be moved.
You should also make sure that the room where you’re putting up wallpaper is warm and stays that way. Temperature that is too cool will make it take longer for the glue to dry, and a temperature that is too warm could cause the wallpaper to curl at the edges because the glue dried out too quickly.
Step 2. Clean and Prep the walls
Take off any existing wallpaper and sand down any bumps or lumps you find under it. If you want the wallpaper paste to stick to painted walls, give them a quick sanding and wash them with sugar soap.
Fill any cracks, holes, or gaps with the right type of filler.
Step 3. Measure The Wall
Take the height of the wall in several different places, and add 10 centimeters or 3.9 inches to the measurement that is the longest. This will account for the trimming that will be done at the top and bottom.
5. Choose the size of the Wallpaper
For wallpaper that you stick on, check to see which way the pattern goes up, and then lay the wallpaper down on the paste table with the pattern facing down. Draw a straight line at the length you measured by using a ruler or spirit level. Then cut it in half.
Flip the cut piece over. Unroll the next piece and put it next to the first one so that the patterns match up. Use the length of the cut piece as a guide to cut the next one.
Keep cutting lengths and writing a number in the top right corner of the back so you know which order to hang them in.
7. Apply the Wallpaper
Apply paste in a herringbone pattern down the paper’s center. After pasting the tablecloth, fold it without creasing. Paste the entire length. Wipe paste spills using a moist sponge between lengths.
Place the first piece on top of the wall so that its right edge is on the line. Leave 5 cm of space at the top for cutting. The first “drop” of wallpaper is important because all the others will line up with it. It must be “correctly positioned,” or your wallpaper will look wrong.
Use a 2″ paint brush to apply paste around plugs and baseboards. This ensures equal coating and prevents wallpaper from “lifting” when dry.
Use ladders to reach the ceiling or coving, and leave 2-3cm on top. Brush the baseboard as you hang from the roll. Here, push the paper against the wall.
8. Smooth Surfaces
Once the right-hand edge is in place and properly vertical. Utilizing the paper-hanging brush, flatten the paper. Make sure there are no bubbles as you work your way from the paper’s center to its edges, slowly unfolding from top to bottom. The right edge must remain on the pencil line.
9. Trim the Edges
After the paper is the proper length, fold the top and bottom edges against the ceiling and baseboard board intersections to secure them. Carefully detach the paper from the wall and make straight cuts along the wrinkles. Brush in the trimmed edges to complete the process.
10. Continue Process Until Completed
Add lengths until the wall is finished. Cut the final piece vertically. Do this while clipping each paper’s top and bottom. Create a sharp crease in the corner and cut with wallpaper scissors.
It’s easy to get rid of bubbles and misalignments by gently pulling back on the paper and brushing it down. In this aspect, the paper is unusually forgiving. If the two items are compatible, you have nearly reached your goal.
Tips
Wallpaper is good for concealing minor wall flaws since the pattern distracts from them, but care must be taken when removing it to avoid making them worse.
Dark-colored wallpaper should be hung with more care, as the edges are more visible against a lighter background.

